You have to be creative to get the limit switches mounted. All proximity switches sense metal and ideally for maximum repeatability the metal should move perpendicular to the end of the switch. The switches are incredibly accurate. The machine homes to within .0005 every time. Having the limit switches makes starting the machine significantly easier. They were some of the last things I put on but hitting "Home All" and watching the machine home is worth it. It also is pretty much mandatory for using the auto z touch off switch because you have to program in the correct location of the switch which is much easier if the machine home location is always the same.
In LinuxCNC you can control the homing sequence such that the axes will home simultaneously or in the sequence you want. In my case I chose to home the Z axis first, then the x/y axes simultaneously. This avoids any problems with crashing the mill head into the vise or anything else on the table.
You control the homing sequence in NAME.ini under each of the axes. You'll want to add HOME_SEQUENCE=. To control the direction it will home in (ie Z homes towards the top, you set the HOME_SEARCH_VEL positive or negative. Here's how I do Z first and then X/Y together
----------------------------------------------
## X axis
[AXIS_0]
.....
HOME_SEQUENCE=1
HOME_OFFSET = 0.000000
HOME_SEARCH_VEL = -1.0000
HOME_LATCH_VEL = -0.016667
HOME_FINAL_VEL = 0.000000
HOME_USE_INDEX = NO
HOME_IGNORE_LIMITS = YES
[AXIS_1]
.....
HOME_SEQUENCE=1
[AXIS_2]
.....
HOME_SEARCH_VEL = 1.0000
HOME_LATCH_VEL = 0.016667
HOME_FINAL_VEL = 0.000000
HOME_USE_INDEX = NO
HOME_IGNORE_LIMITS = YES
HOME_SEQUENCE=0
---------------------------------------------

I built these x axis end stops that attach to the stock mounting bracket on the end of the mill. You just buy a longer M6x1 bolt from Home Depot and bolt these on. You can adjust the depth they trigger at with the hex head bolt and then put a nut on the other end to lock the adjustment down.


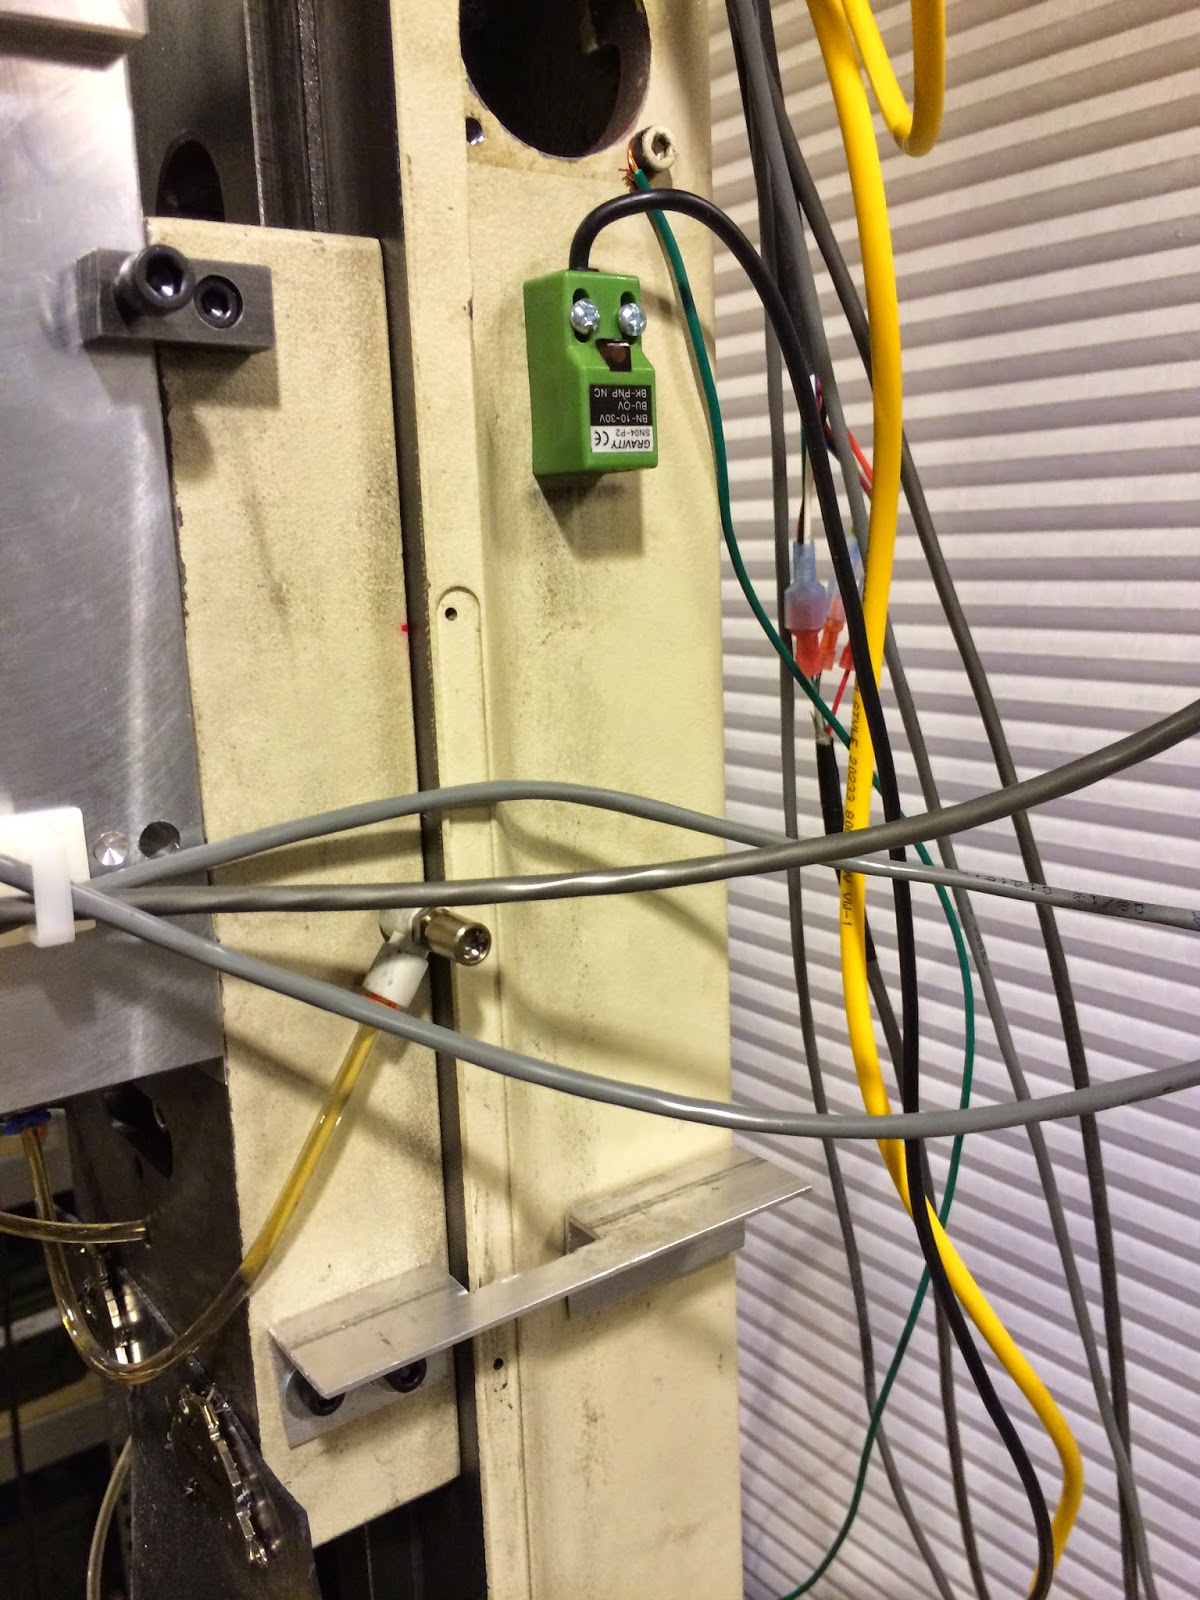
For the Z axis I drilled and tapped the column and then drilled and tapped the z axis saddle for a mount made of angle aluminum.

For the Y axis I drilled and tapped the base and mounted the two switches on the base. I used the existing holes in the saddle (M6x1) to add that piece of aluminum bar stock. I put tapped holes every 1/2" on the bottom so I could change where the bolt went and adjust the trigger point of the switch

For the X axis I added the switches on the bottom of a piece of angle aluminum. This protects them from swarf